Video rooms
Charter has the capability of including Zoom or Google Meet style video or audio conferencing as part of your experience. Adding it is simple!
1. Start a project
From the Charter home page, click on Create blank to create a new project from the "Blank" template. Name your project and click Create.
2. Create a video room
First, we'll add an interface, which is the definition of a web view that your participants can interact with on a phone or computer. Create a new interface named "Room Test".
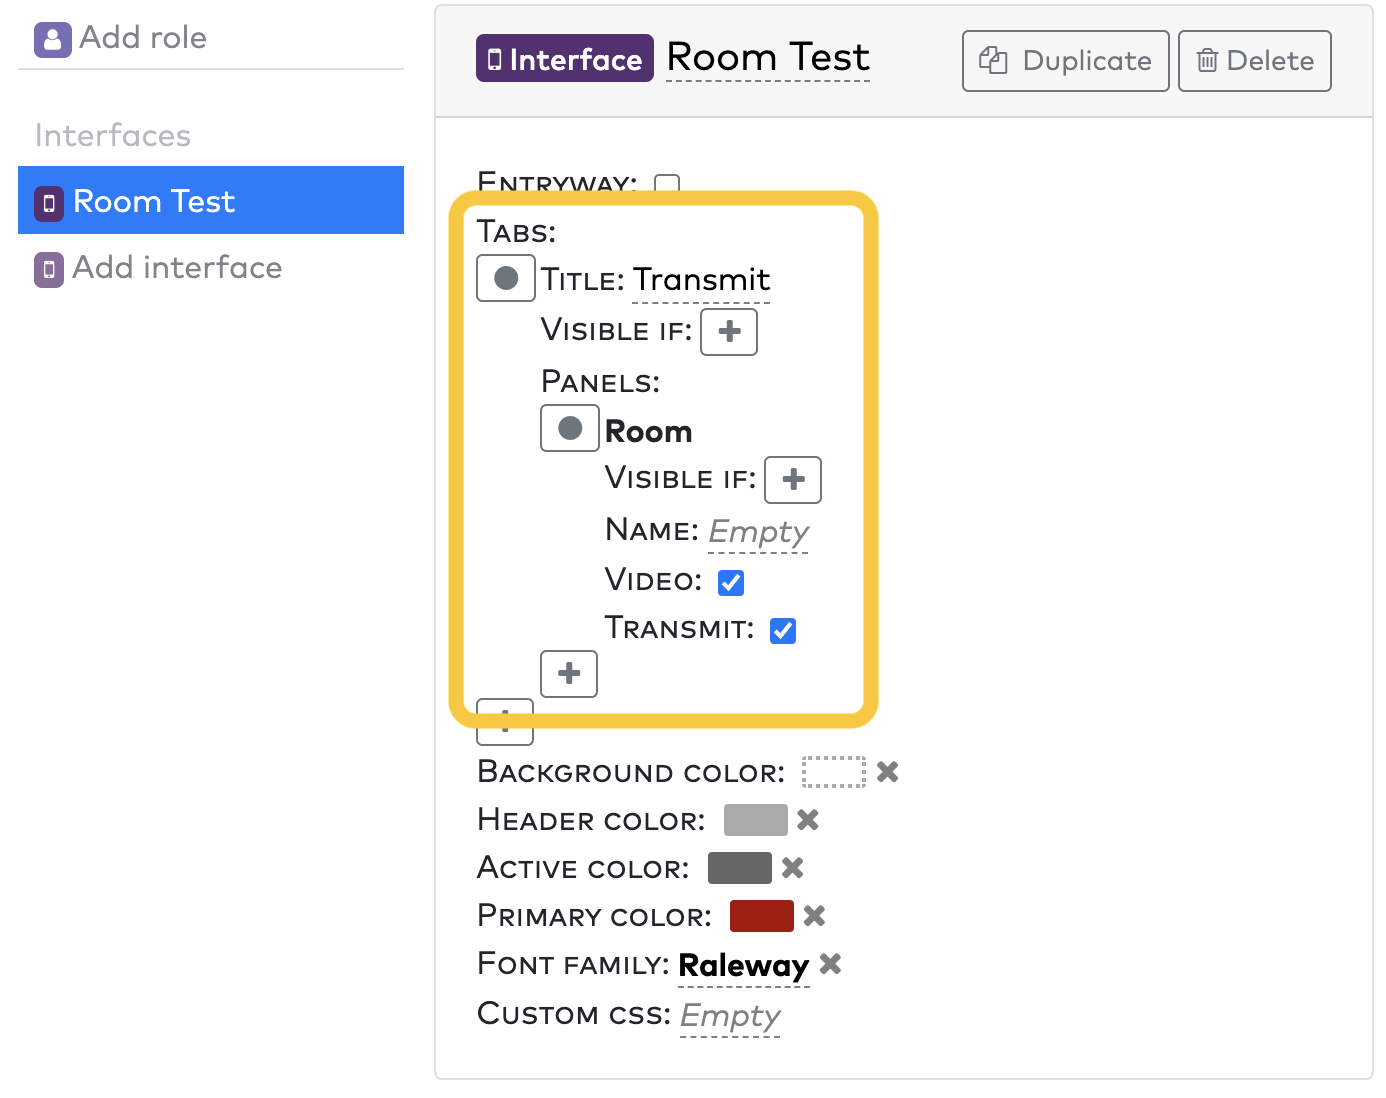
Add a new tab, and title it "Transmit". Add a Room type panel, and you can keep the default values for now.
3. Create a role
Now add a role for your viewers. Choose your "Room Test" as that role's Interface.

4. Preview your room
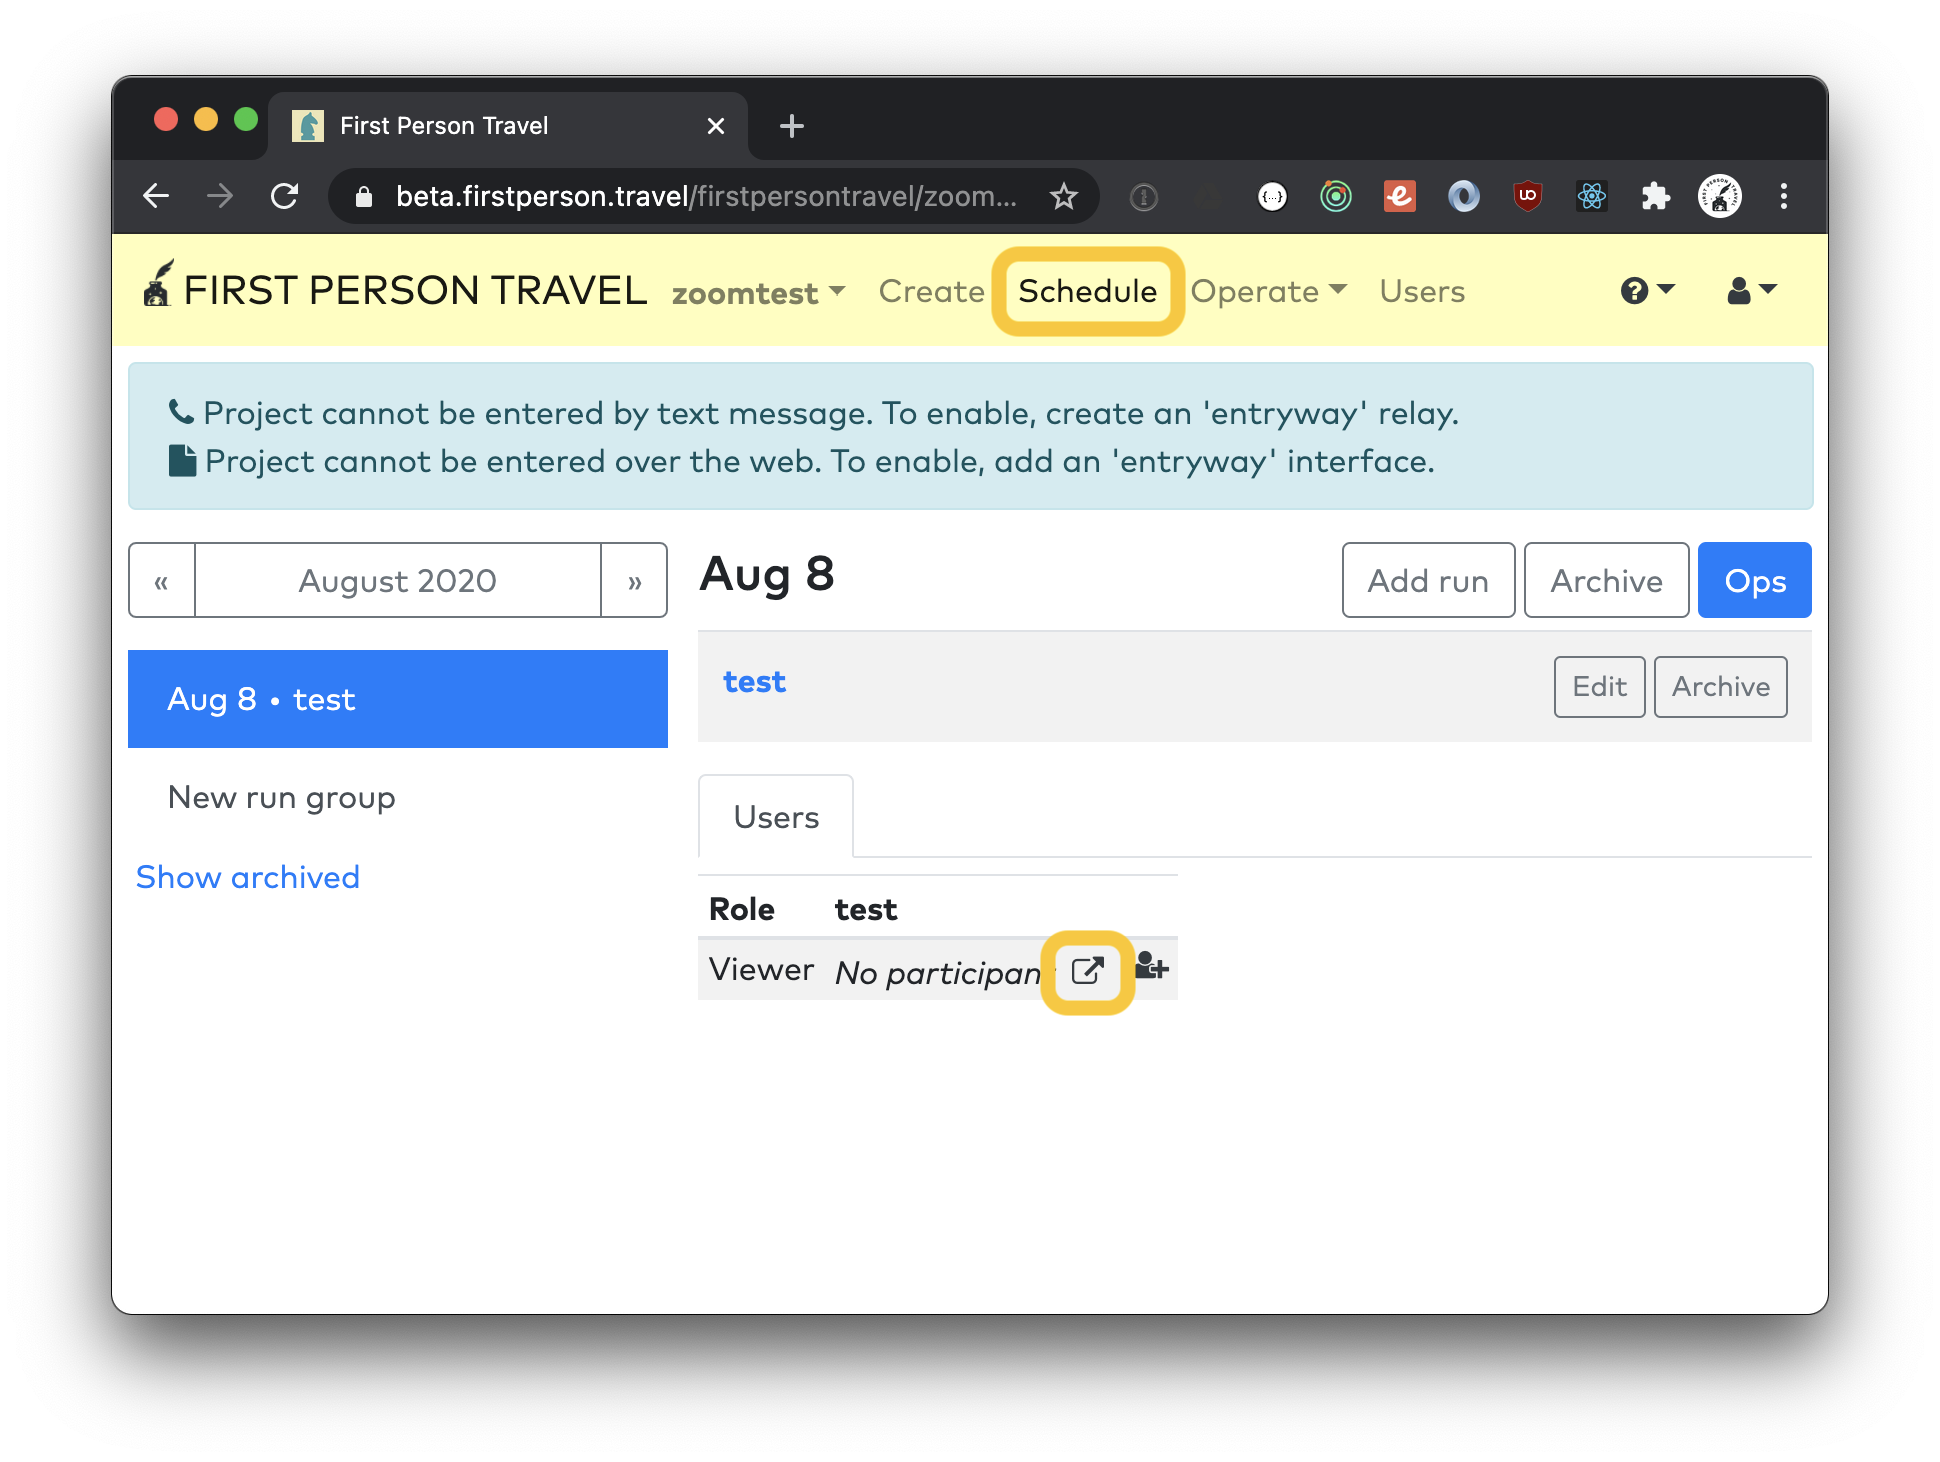
To preview your room, you'll need to start a run. Go to the Schedule tab, and create a Run Group and a new Run.
You'll see a Link Icon next to the role you just created. Click it to open a preview of that role's interface.
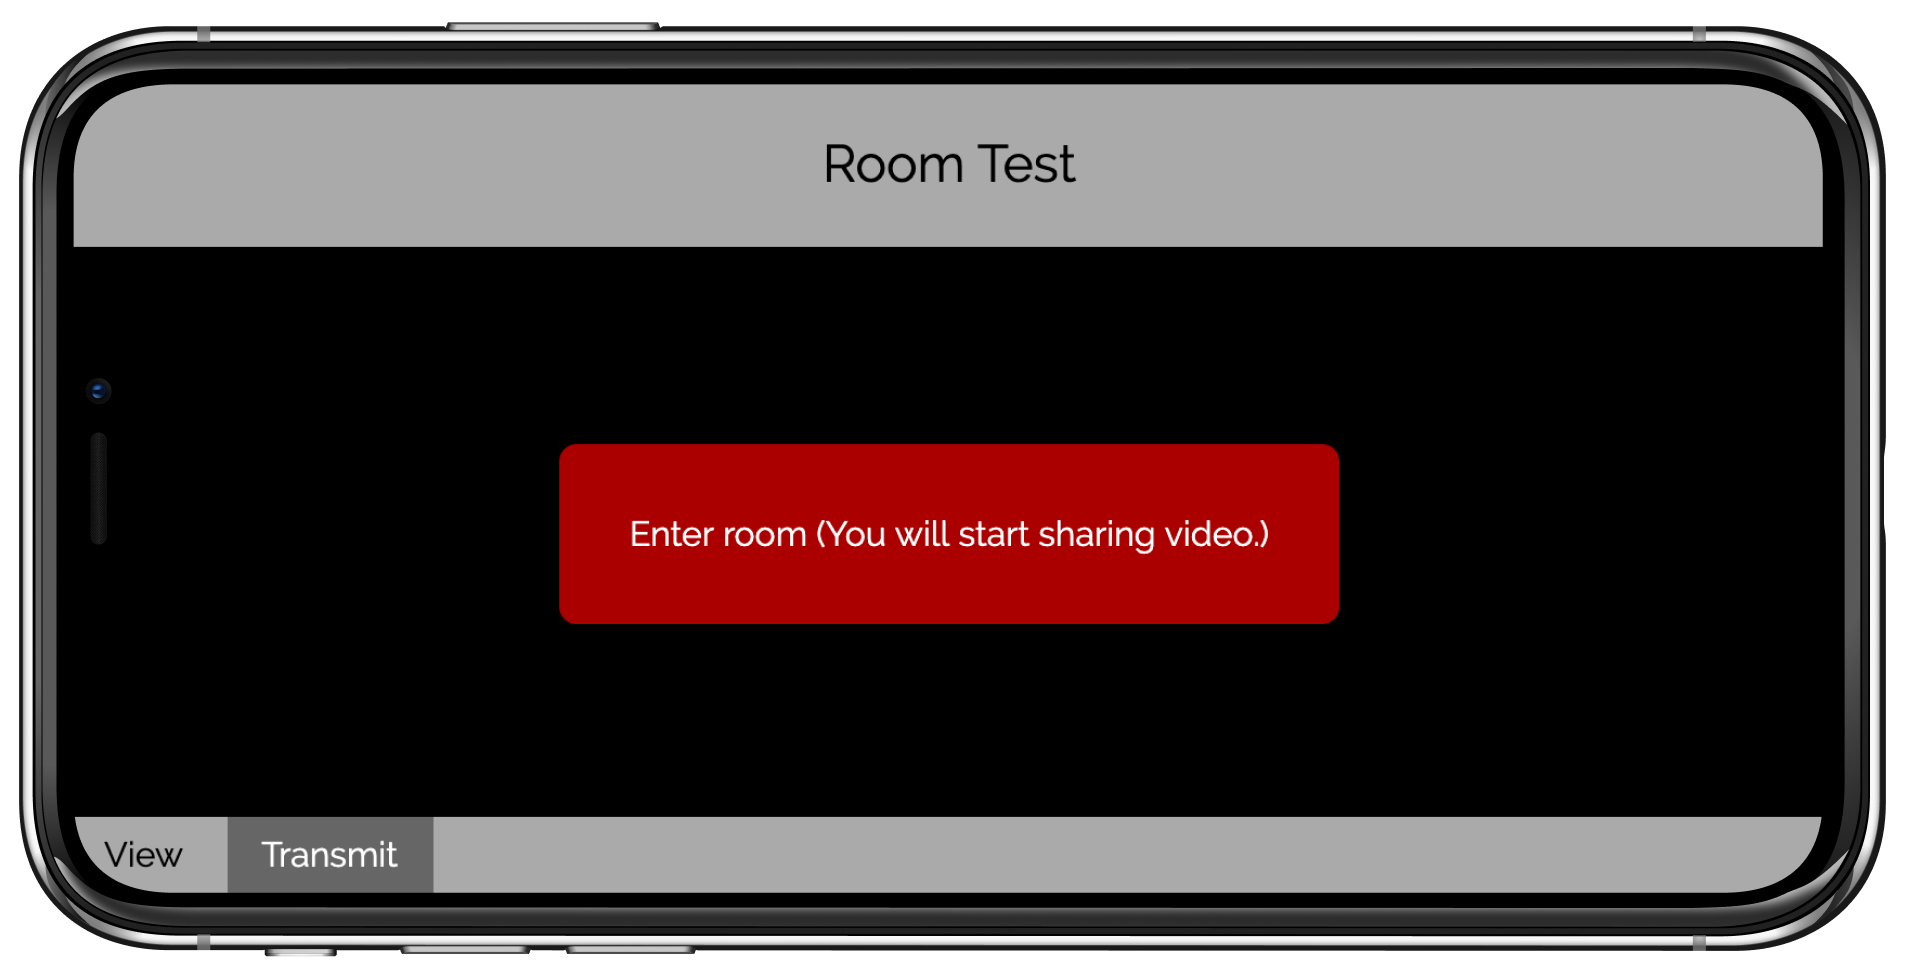
You'll load a new page showing the entry to your video room.
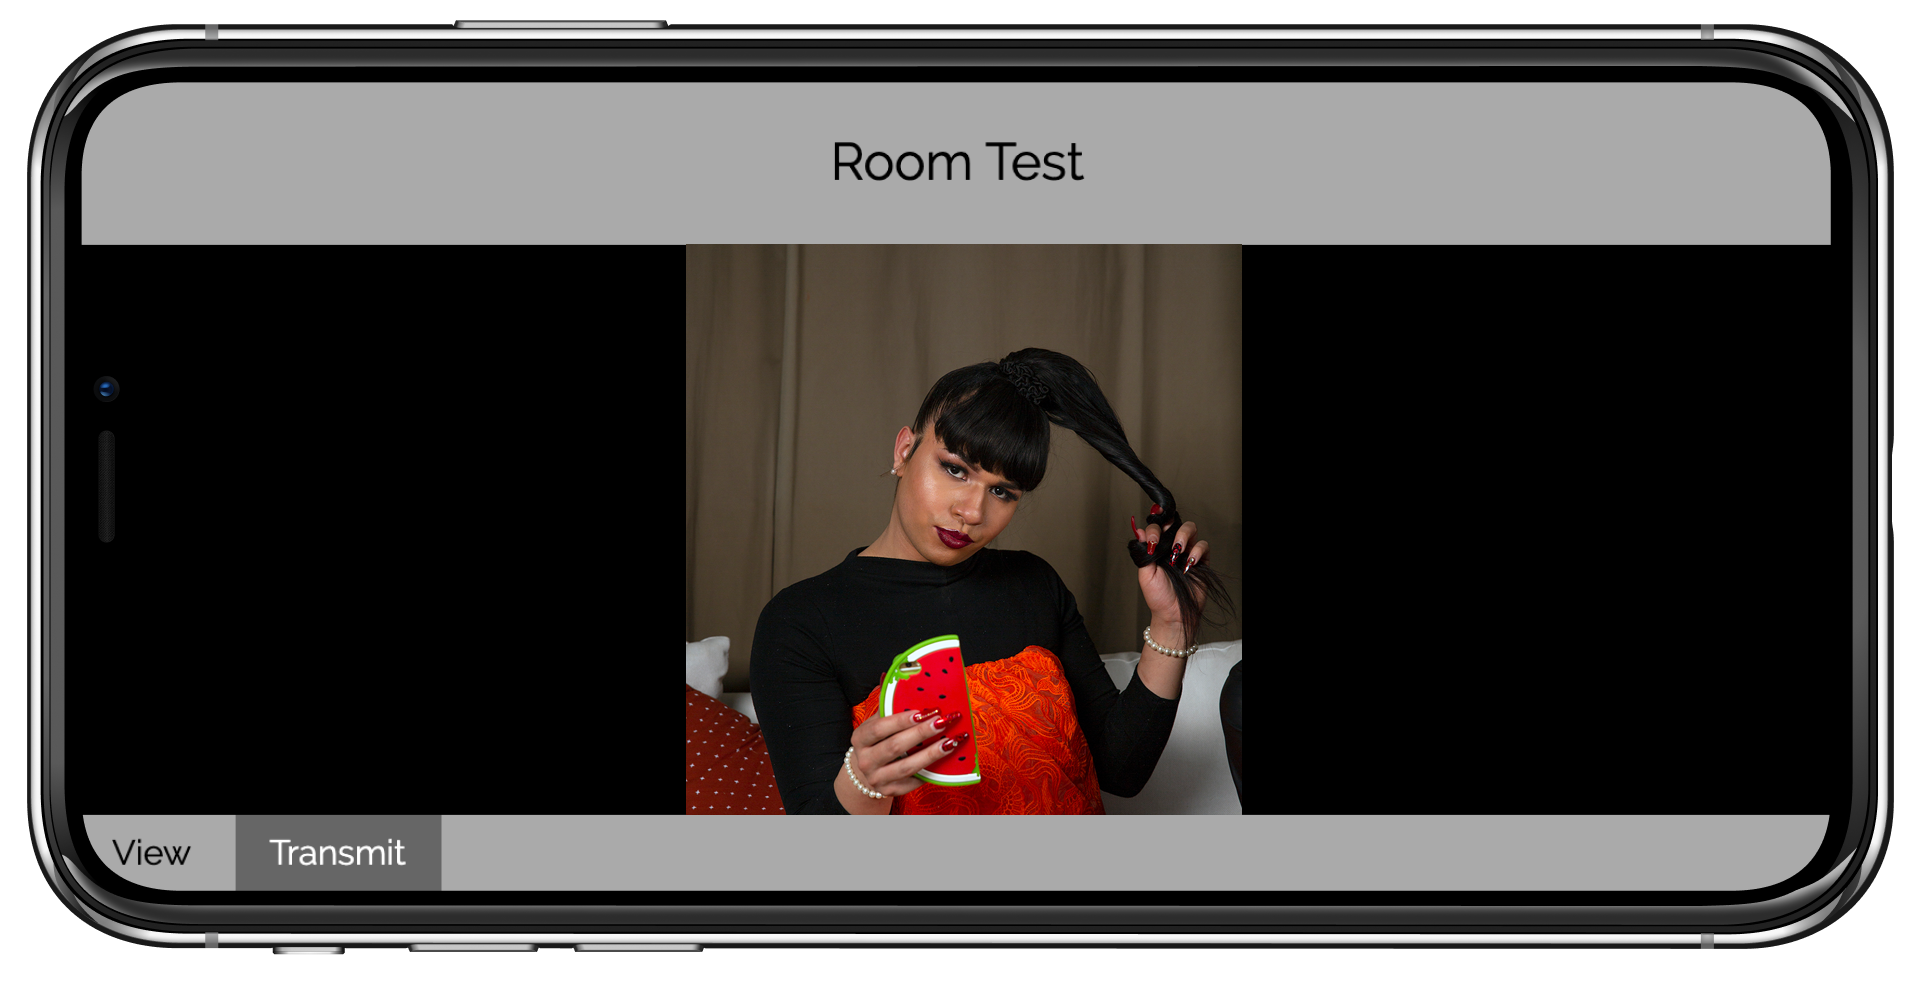
Click enter, give permissions, and you're in your new video room! Up to nine participants can be in a room at a time.
5. Add a view-only tab
In the current setup, anyone viewing the room will both share and view audio and video. It's possible to have broadcast-style rooms as well, where one participant is sharing and the rest are viewing.
Go back to your Interface in the Create tool, and add a new Tab. Name this tab "Receive", add a Room panel, but this time, uncheck the Transmit checkbox.
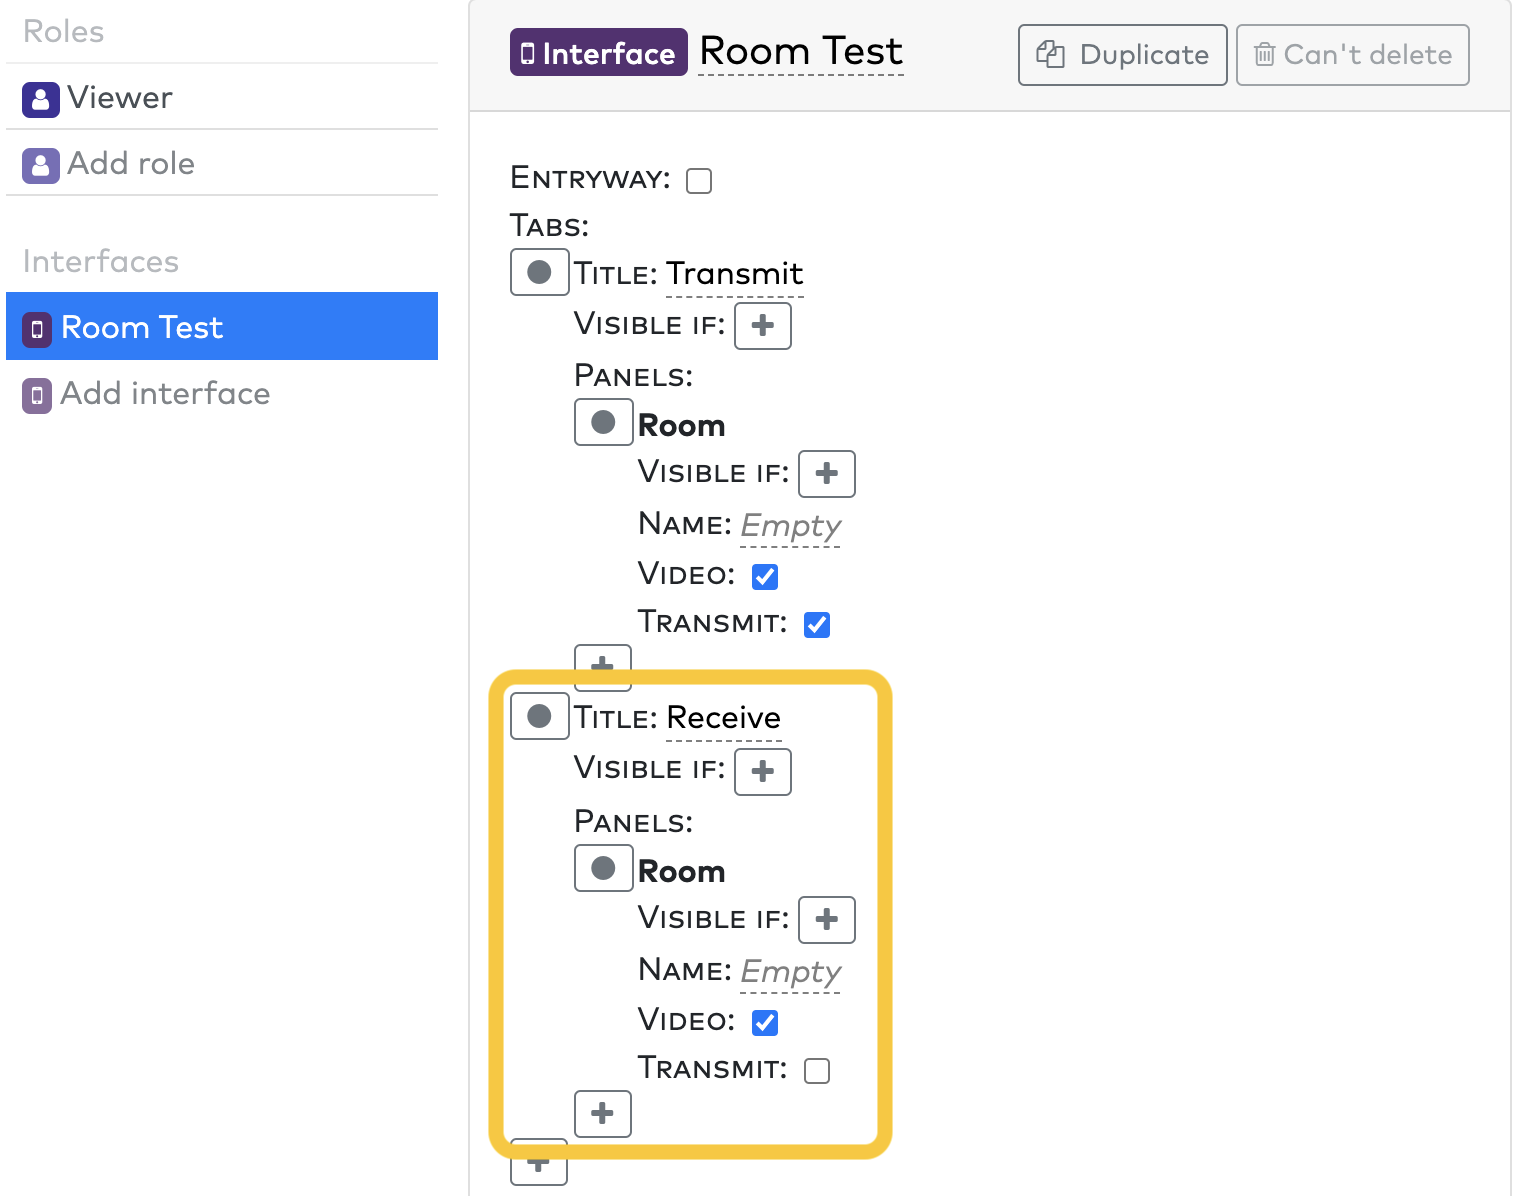
6. Recieve-only rooms
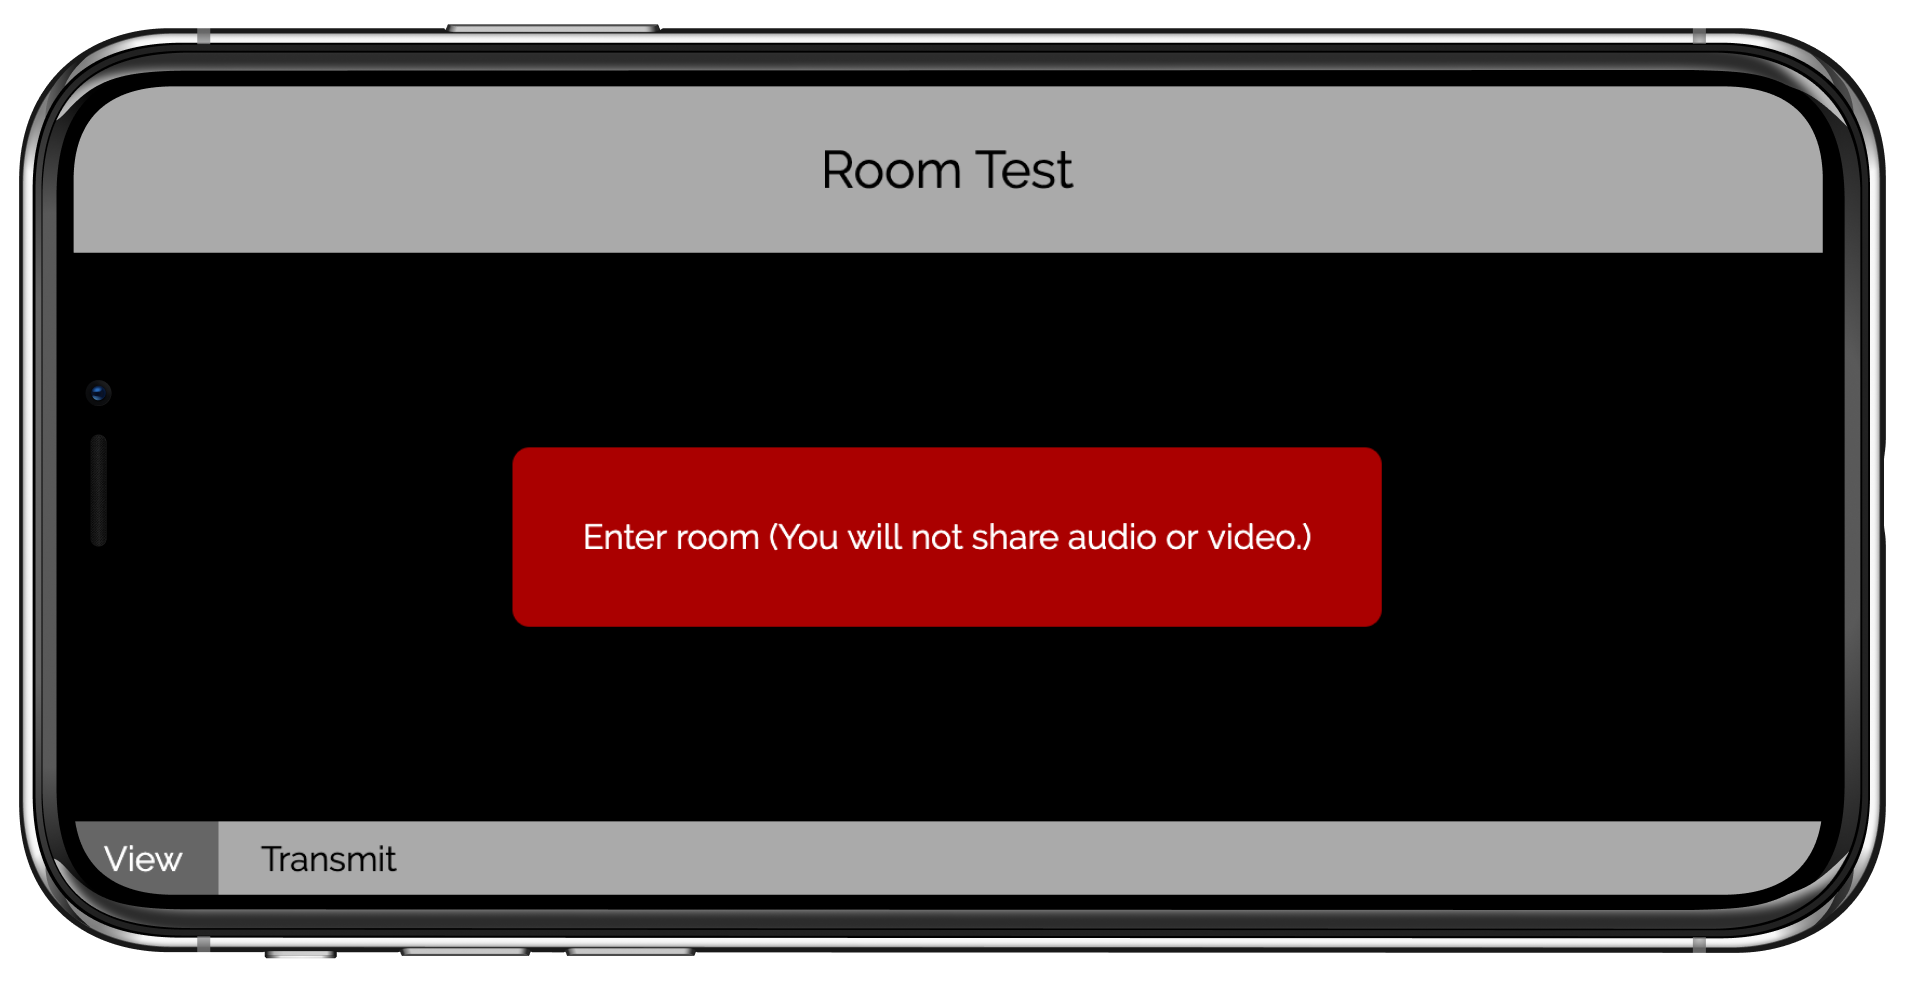
Now, when you go to the preview of your room, you'll see two tabs at the bottom, "Transmit" and "Receive". Both are views into the same room, but if you have the left tab loaded, you'll share your video, and if you have the right tab loaded, you won't.
There's lots more to explore from here. You can have audio transmissions or calls by unchecking the Video option. And you can specify different rooms by giving them a unique Name.